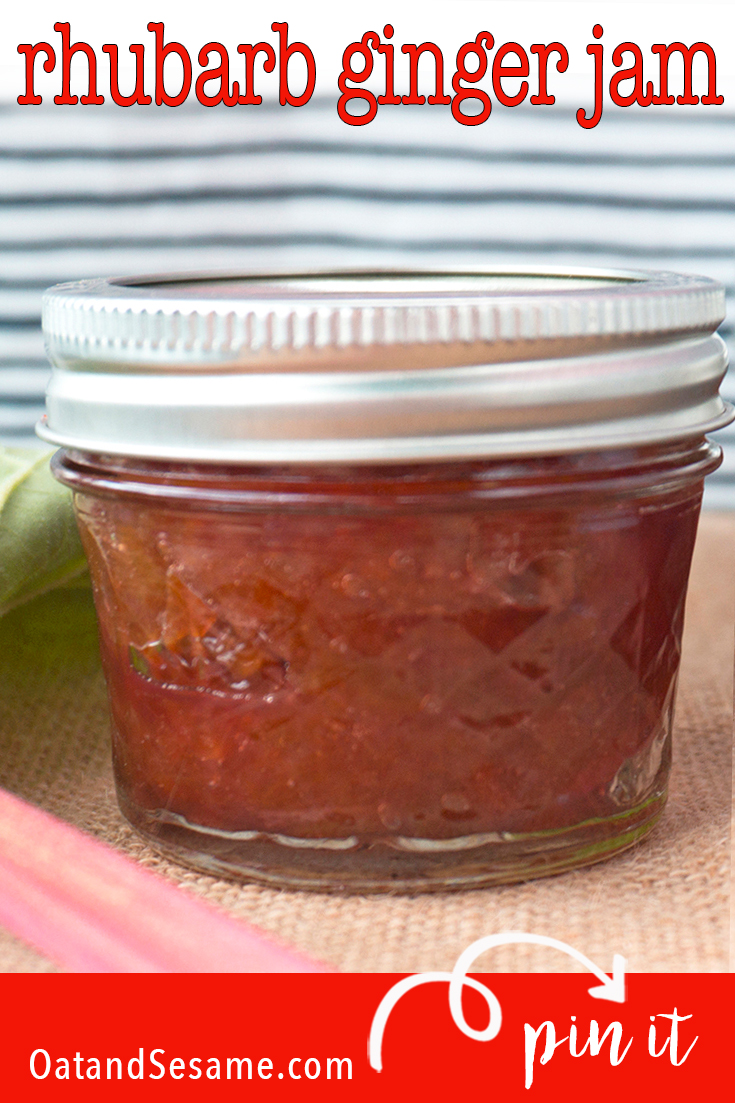
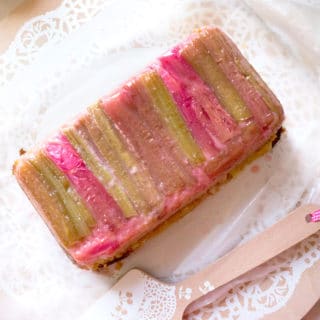
This Rhubarb Ginger Jam is packed with bits of sweet crystallized ginger bits as well as fresh ginger. If you have a lot of rhubarb, making rhubarb ginger jam is the way to use it!

Last week I spent some time in Chicago with my family. Both my sister Molly and my cousin Danielle are getting married this summer, so we planned their bridal showers back-to-back. Throw in a birthday party and a double bachelorette party – my weekend was packed with festivities and lots of great memories.
Before I left, I had a huge amount of rhubarb to deal with. I needed to use a lot of it and fast. I was going to be on vacation for a few weeks and I didn’t want to miss out on my opportunity to have rhubarb jam!
Making rhubarb jam is a perfect way to enjoy rhubarb all year long!

How to Make Rhubarb Jam
Jam is easy to make and with a little prep time, the cook time is just 20 minutes.
To make this as easy as possible for myself, I took a Craftsy online course on making jams and marmalades in January to prepare for this very moment! And now I get to share this knowledge with you!
The jarring process was a lot more simple than I thought it was going to be. I just purchase these small ball jars with lids and followed a quick method to sterilize them by placing them in the oven for 10 minutes. It worked perfectly!
Now let’s get going and make that rhubarb jam!!
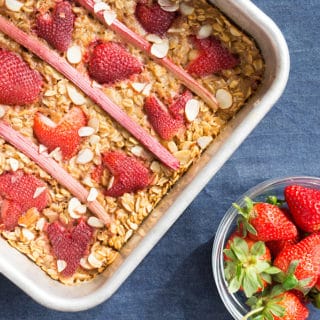
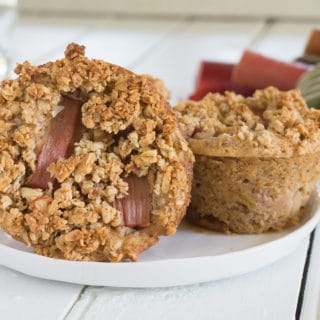
Need more rhubarb ideas? Check out these rhubarb recipes!
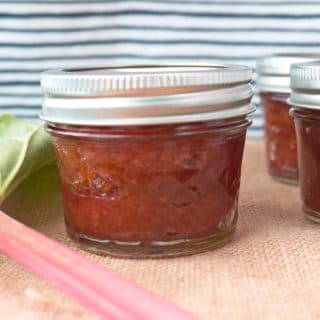
This Rhubarb Ginger Jam is packed with bits of sweet crystallized ginger bits as well as fresh ginger.
- 6 cups fresh rhubarb, sliced approximately 15 stalks sliced into 1" pieces
- 1 ½ cups sugar
- zest and juice 1 lemon
- 1/3 cup crystallized ginger finely chopped
- 2 inch piece ginger peeled and grated
-
Cut rhubarb into 1" pieces.
-
Place in a bowl, add sugar, lemon juice and zest and chopped crystallized ginger.
-
Grate the peeled ginger directly over the rhubarb. Stir mixture.
-
Cover and let sit at room temp for about 2 hours until the sugar starts to dissolve and the rhubarb has released its juices. Stir occasionally to help the process. If you have time, you could let this mixture sit in the fridge for a few days which helps breakdown the fruit, but this works just as well.
-
While you're waiting for the rhubarb mixture, do 2 things: place a few small spoons in the freezer to use as a jam tester later on in the process and sterilize your jars for the preserve. This is explained in the Craftsy course I mentioned above.
-
Once your rhubarb is ready, scoop the sugar, juice and fruit into a large pot with high sides (or a jam pan if you have one!) Bring to a boil over medium-high heat.
-
Once it starts to bubble and get a little foamy you've entered into Phase 1 of the jam cooking process. A full description can be found within the Craftsy class.
-
Stir the mixture to make sure nothing is sticking. Skim off any foam that forms during the process.
-
As you enter the second phase of cooking the liquid will start to really reduce. Stir occasionally to prevent sticking. If you notice it's starting to stick, turn down the heat very slightly.
-
As the third phase starts you'll notice the bubbles are more concentrated in wells and come out from the side of the pan. It will still have some liquid when it's close to being done and will firm up once cooled.
-
The whole cooking process should take about 15-20 minutes.
-
To test for doneness, turn off the heat and dip one of your freezer spoons. Put it back in the freezer and wait a few minutes. Take the spoon out and if the consistency is like syrup, you need to cook it a few minutes more. Test it again after a few minutes. The jam should move very slowly down the spoon when done and should have a jammy consistency.
-
To store your jam you have a couple options. The least complex option is what I favor.
-
Take your clean ball jars remove the lids.
-
Put the glass sections on a jelly roll pan and bake them for about 10 minutes at 350 degrees. This sterilizes them and prevents them from breaking when you pour hot jam in them!
-
When filling the jars, leave at least 1″ of space between the top of the jam and the lid. That air will create the suction to seal the jars as the jam cools and allows for expansion if you’re freezing it.
-
After filling the jars, make sure the rims are clean. Screw on the tops. As the jelly cools to room temp the jars will seal themselves.
-
I like to keep my jars in the back of the refrigerator where it’s the coldest. The jam should last for about a month. The other option is to freeze it which will make it good for about a year.
-
The Ball company has instruction on preserving all types of foods on their website. It’s quite helpful. http://www.freshpreserving.com/tools/preserving-jam-maker-recipes
For a more detailed explanation of jam, see the link on Craftsy in my blogpost and sign up to take the 8 lesson course.
Stay in touch! Follow me on Instagram, Twitter, Facebook, and Pinterest to get the latest!
more rhubarb for you

yum!! I need to make that one! xoxo